Veeva PromoMats supports automated image tagging by processing uploaded image content through the AWS Rekognition service. The Automated Image Tagging process populates Vault document metadata fields based on predefined tags. Automated image tagging is critical in supporting process efficiencies and standardizing image tags, making it easier for you to find digital assets through improved searchability.
Two Amazon Rekognition services support automated image tagging in Vault: DetectLabels and Facial Attributes.
You can apply automated image tagging to most non-audio and non-video viewable renditions. You can submit up to 250,000 tagging requests per month.
Using Automated Image Tagging
Vault initiates automated image tagging when users:
- Upload new documents
- Re-render documents
- Create a new version
- Upload a manual viewable rendition
Vault automatically begins tagging images asynchronously once a viewable rendition becomes available on a document. Users can continue to work in Vault while this process continues.
Vault logs automated image tagging on behalf of the System in audit trails.
Supported File Types
Vault supports the following file formats for automated image tagging:
| Format Name | Extensions |
|---|---|
| Image | *.avif, *.bmp, *.eps, *.heic, *.heif, *.jpeg, *.jpg, *.png, *.psd, *.svg, *.tif, *.tiff, *.webp |
| Adobe Creative Cloud | *.ai, *.indd, *.psd, *.zip (InDesign package) |
| Powerpoint Presentation | *.ppt, *.pptx |
| PDFs | |
| HyperText Markup Language | *.htm, *.html |
Tagging Request Limits
By default, you can submit up to 250,000 tagging requests in a single Vault per month. Each page in a document is two (2) requests if both services are being used.
Configuring Automated Image Tagging
You must complete the following steps to configure and enable automated image tagging:
- Review image tags. See details about this step below.
- Assign Document Type Groups to document types. See details about this step below.
- Add the Image Tags (
image_tag__v) document field to document types. See details about this step below. - Activate the connection record. See details about this step below.
Reviewing Image Tags
The Image Tag (image_tag__v) object is pre-populated with supported tags from AWS Rekognition’s DetectLabels and Facial Attributes services. By default, a subset of tags from these services are Active in your Vault. To view Image Tags, navigate to Business Admin > Objects > Image Tags.
We strongly recommend reviewing the tag list to determine if the active tags are appropriate for your organization. If not, you can activate or inactivate tags to suit your needs.
Image Tags are current as of April 2024.
Note: We recommend inactivating unwanted Image Tags and advise against deleting them.
Customizing Image Tag Names
You can also edit Image Tags to change tag names applied to documents when AWS Rekognition successfully identifies content.
To change an Image Tag name:
- Navigate to Business Admin > Objects > Image Tags.
- Click a tag.
- Click Edit.
- Update the Name field.
- Click Save.
For example, Tara wants to change the tag Baby to Infant in her Vault to match the term her end users are most likely to use when searching for relevant content. After she changes the Baby tag name to Infant, Vault updates all existing documents with the Infant tag.
When users search for content, Vault uses both the Name and Tag field.
Note: We strongly advise against changing the Tag (tag__v) field. This field relates to the AWS Rekognition library.
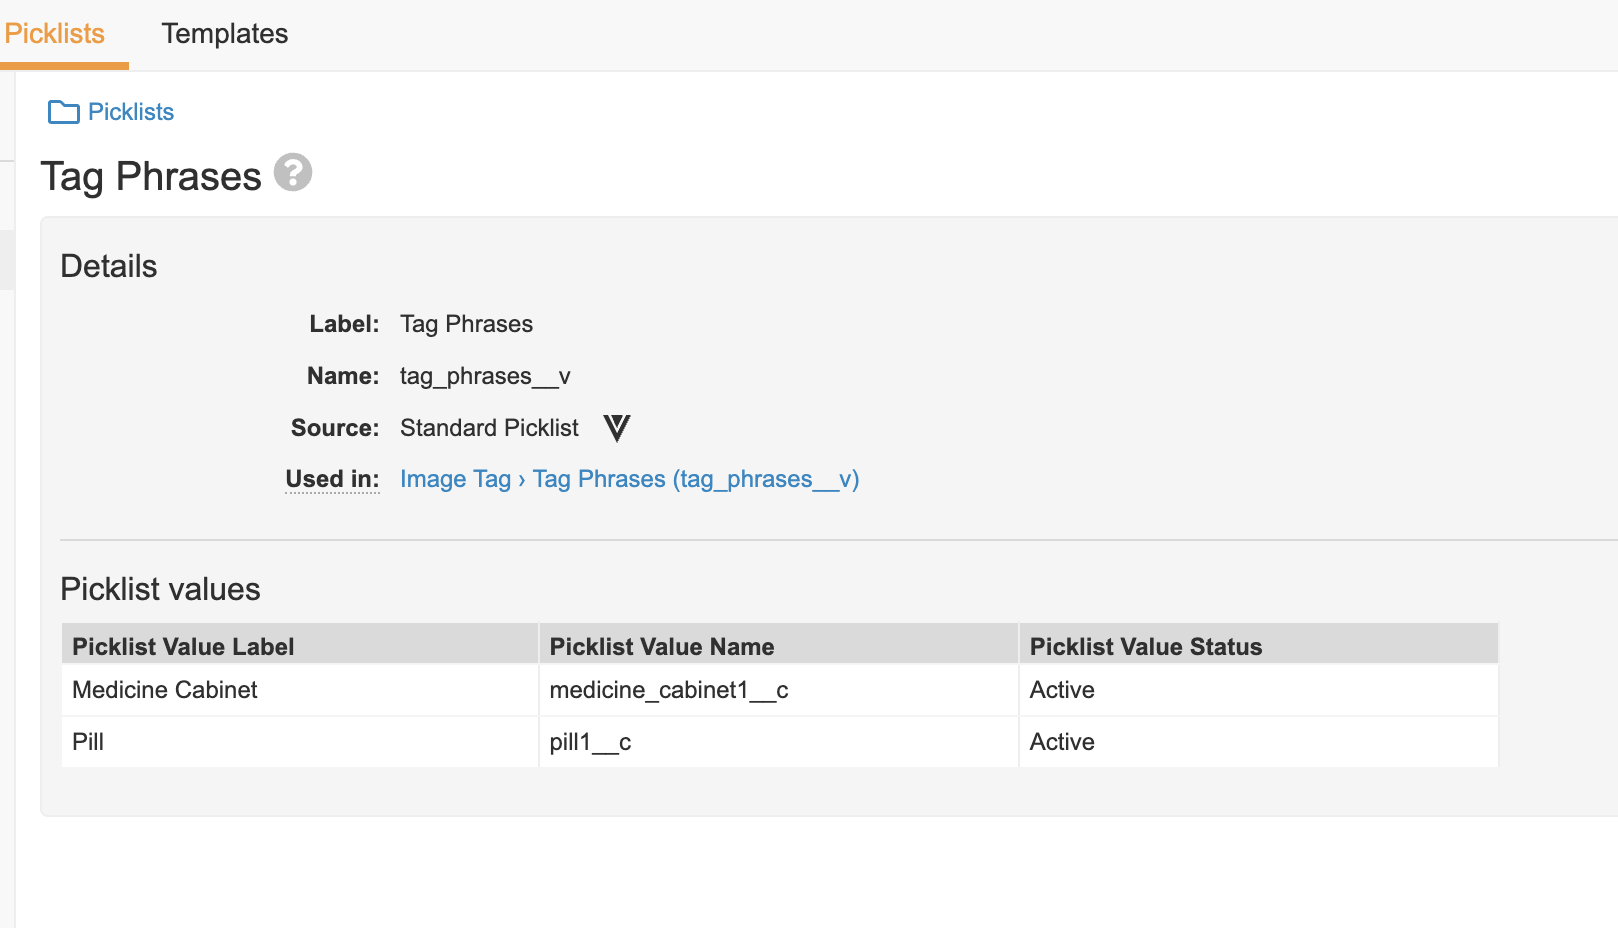
Using Tag Phrases
Tag Phrases allow you to group multiple tags. For example, you can group the Pill and Medicine Cabinet tags using the _Medicatio_n tag phrase.
To configure a Tag Phrase:
- Navigate to Business Admin > Objects > Image Tags.
- Inactivate the tags you want to group using a Tag Phrase.
- Navigate to Business Admin > Picklists > Tag Phrases, and add the tags that you inactivated.
- Return to Business Admin > Objects > Image Tags and click the desired Image Tag.
- Update the Tag Phrases on this record to include the additional picklist values.
Adding Document Types to Groups
To assign document types which will be sent for automated image tagging, you must assign a Document Type Group to the document types:
- Navigate to Admin > Configuration > Document Types.
- Next to your desired document type, click the Actions menu and select Edit Details.
- Under Document Type Groups, add Automated Image Tagging.
- Click Save.
- Optional: Repeat steps 1 - 4 for other document types.
Note: The Automated Tagging service blocklists the following document types: Base (base_document__v), eCTD Submission Ready Documents (ectd_submission_ready_documents__v), Supporting Documents (supporting_documents__v), and Health Authority Forms (health_authority_forms__v).
Updating Document Fields
Then, you must add the Image Tags (image_tags__v) field to these document types to see the field and tags in the Doc Info pane:
- Navigate to Admin > Configuration > Document Fields.
- Click a document type.
- Click Add and select Existing Shared Field.
- Select the Image Tags (image_tags__v) field.
- Click OK.
- Optional: Repeat steps 1 - 5 for other document types.
Vault only tags content when the confidence threshold is at least 85%. If no tags meet this threshold, Vault does not add tags to the document and adds an entry to the audit trail.
Activating the Connection Record
Finally, you must activate the Automated Image Tagging connection record to enable the functionality.
To activate the connection record:
- Navigate to Admin > Connections.
- Click Automated Image Tagging.
- Click .
- Set the Status to Active.
- Click Save.
At this point, any new content assigned to an applicable document type which meets the supported file formats will be sent for automated image tagging.
Analyzing Image Tag Results
Vault creates an Image Tagging Result (image_tagging_result__v) record for every page and document sent for automated image tagging. You can use these records to analyze which tags Vault filters from your documents based on its confidence threshold and determine if you should revisit your active and inactive tags.
Image Tagging Result records include the following information:
- The document and version sent for tagging
- The page of the document analyzed
- Rekognition service (Detect Labels, Facial Attributes, Facial Attributes - Age Range)
- Raw AWS Rekognition results
Vault deletes Image Tagging Result records after 90 days.
Note: Due to Amazon’s best practices, Vault only logs results with a minimum confidence threshold of 55%.
Bulk Image Tagging
You can use a bulk action to send previously approved content for automated image tagging.
Before enabling the bulk action, you must add the Integration section to the Automated Image Tagging connection page layout:
- Navigate to Admin > Connections > Automated Image Tagging.
- Click the Actions menu and select Configure Layout.
- Click under an existing section and select Insert Section.
- Under Select Section Type, select Related Object.
- Click Continue.
- Under Related Object, select Integration.
- Optional: Configure additional section settings.
- Click Done.
You’ll need to prepare a CSV file with documentId, majorVersion, and minorVersion columns. Vault can bulk process a maximum of 1,000 documents for automated image tagging. To generate this CSV file, navigate to your Library and open Grid view. Add the columns, then export your layout to CSV.
To enable the bulk action:
- Navigate to Connections > Automated Image Tagging.
- Click Integration.
- Click the Actions menu and select Bulk Automated Image Tagging.
- Upload the CSV file.
- Run the action.
Note: You cannot perform the Bulk Automated Image Tagging action in the Mozilla Firefox browser due to the browser’s restrictions.
Once the bulk action completes, open one of the documents sent for tagging to verify that documents in the CSV file were processed.
Troubleshooting User Exception Messages
Vault includes the User Exception Message object and its child object, User Exception Item, to help you track and resolve any errors that occur with a connection. If Vault encounters an error during the automated image tagging process, it creates a User Exception Message record to capture the failure.
You can view and manage these messages from Admin > Connections > User Exception Messages. If you want specific users or groups to receive notifications when Vault creates User Exception Message records, you can create a custom lifecycle for the User Exception Message object and configure a notification entry action.
The table below outlines automated image tagging exception messages.
| Exception Name | Error Message | Troubleshooting |
|---|---|---|
| Automated Image Tagging - ITEM_PROCESSING_ERROR | Automated Image Tagging, monthly service limit exceeded. Document not sent for Automated Image Tagging - (docID_majorversion_minorversion), X_X_X | You can resend the document(s) for tagging next month. You can also contact Veeva Support to inquire about raising the service limit. |
| Automated Image Tagging - ITEM_PROCESSING_ERROR | Unsupported Document Type sent for Automated Image Tagging - (docID_majorversion_minorversion), X_X_X | See Adding Document Types to Groups above for information regarding blocklisted document types. |
| Automated Image Tagging - ITEM_PROCESSING_ERROR | Error occurred during Automated Image Tagging process | The service is temporarily unavailable. Please try again. If another error occurs, please contact Veeva Support. |
| Automated Image Tagging - ITEM_PROCESSING_ERROR | Document does not exist, could not send for Automated Image Tagging, (docID_majorversion_minorversion), X_X_X | Review the bulk tagging CSV file for document IDs and try again. |
Related Permissions
You need a System Admin security profile as well as the following permissions to configure automated image tagging:
| Type | Permission Label | Controls |
|---|---|---|
| Security Profile | Admin: Application: Manage Connections | Ability to activate the Automated Image Tagging connection record |
| Security Profile | Object: User Exception Item, User Exception Message: Read | Ability to see User Exception Item and User Exception Message records if an error occurs |