Quick Check Agent is designed to help content owners and coordinators prepare their documents for MLR review by detecting common issues before submission, such as spelling errors, sensitive phrases, and missing warnings or safety information. Leveraging a Large Language Model (LLM), Quick Check Agent proactively identifies a wide range of issues in your promotional materials, reducing the number of review cycles and accelerating time to approval.
Quick Check Agent is integrated directly within PromoMats, which means your documents and data do not leave your Veeva Vault environment, ensuring data stays secure, and user security is respected.
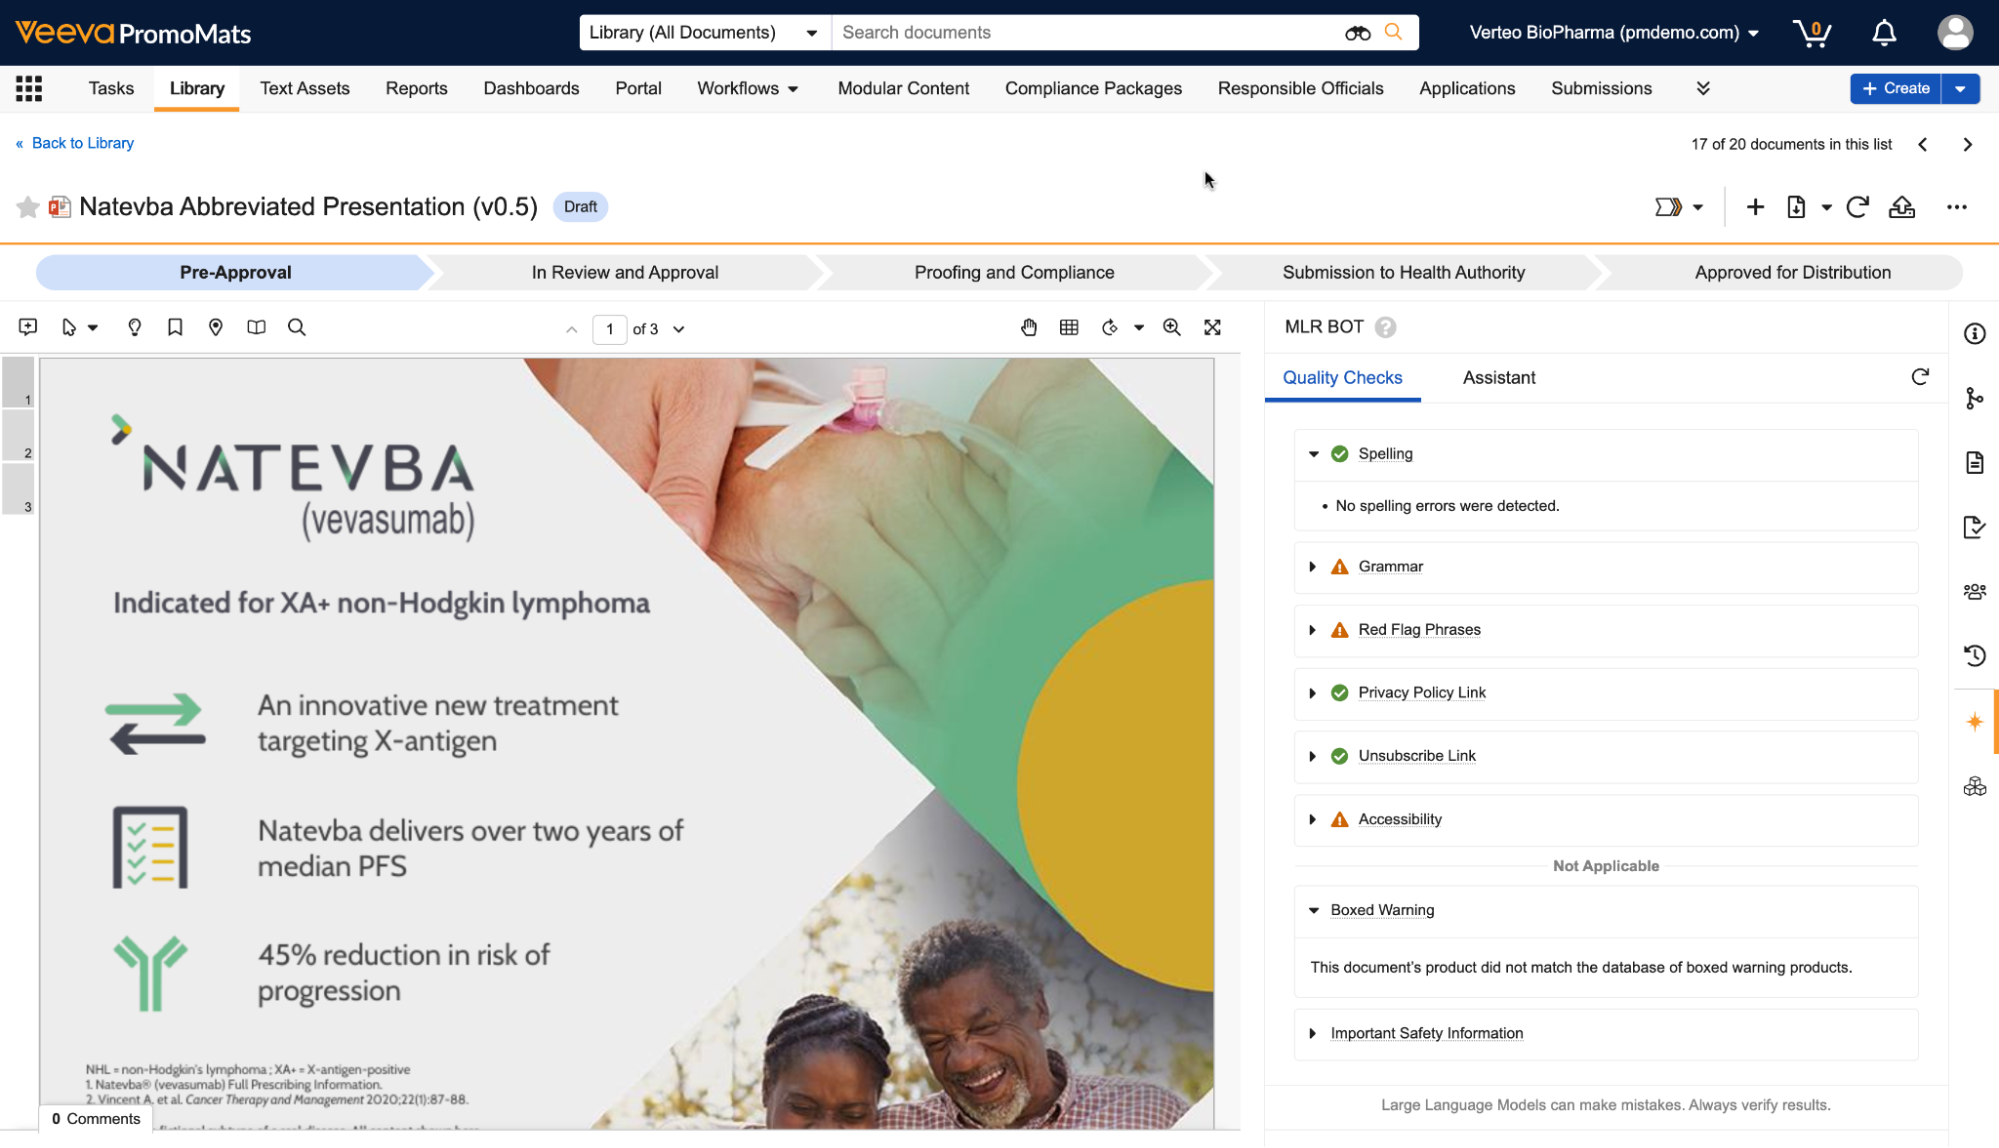
Once configured, the Quick Check Agent panel is available when all of the following conditions are met:
- The document type belongs to the Quick Check Agent document type group.
- The current document version is the latest version.
- The document does not exceed 100 pages in length. If the document is longer than 20 pages, some checks operate differently, and Quick Check Agent does not evaluate images.
- The document has a PDF viewable rendition and does not contain audio or video content.
- The document is not in the Steady, Superseded, Deleted, or Obsolete states.
- The document is not archived.
- The document is not a binder or CrossLink.
- For the Important Safety Information check, the Related ISI document is linked to the target document.
Admins should perform the following configuration steps before Quick Check Agent is ready for use:
- Enable Vault AI in your PromoMats Vault.
- Assign the Vault AI permission set to your users.
- Add the Quick Check Agent document type group to applicable document types.
- Optional: Create and update Website object records to fully leverage the Privacy Policy Link and Unsubscribe Link quality checks.
Enabling Vault AI and Vault AI Permissions
To use Quick Check Agent, enable Vault AI for your PromoMats Vault under Admin > Settings > Vault AI Settings. Then assign the Vault AI permission set to your users via a security profile or application role under Admin > Users & Groups > Permission Sets.
Assigning Quick Check Agent to Document Types
The Quick Check Agent panel is only available on the Doc Info page if the document type has the Quick Check Agent document type group assigned.
To assign the Quick Check Agent document type group:
- Navigate to Admin > Configuration > Document Types.
- Next to your desired document type, click the Actions menu and select Edit Details.
- In the General tab, under Document Type Groups, select Quick Check Agent.
- Click Save.
- Optional: Repeat steps 1 - 4 for other document types.
Assigning Document Type Roles
To use Quick Check Agent, users must be assigned a document role with View Content permissions for the lifecycle state of the document version they’re reviewing. You can manage which roles have View Content permission per lifecycle state within the Security Settings tab.
Configuring Entry Criteria
To prevent documents from proceeding through their assigned lifecycle before Quick Check Agent has generated results, you can add the Quick Check Agent entry criteria to any document lifecycle state.
Configuring a Product with a Boxed Warning
To include products in the Boxed Warning check that are not yet in the FDA database, you must first add a custom Yes/No field called QC Boxed Warning (qc_boxed_warning__c) to the Product object. By setting this field to Yes on a specific Product record, you ensure that Quick Check Agent includes this product in its warning analysis alongside the official FDA list.
Configuring the ISI Check
The ISI check identifies all safety statements in the Related ISI document and then inspects the promotional material to see if each statement is present, present but reworded, missing, or if there are statements in the material that are not found in the Related ISI document. When a single ISI source document covers multiple indications, audiences, or safety-statement length variants, you can configure Quick Check Agent to identify which safety statements are relevant to a specific promotional material, so that reviewers see findings that apply to the document under review rather than findings drawn from statements meant for other indications, audiences, or lengths.
This configuration is optional; the ISI check can run without it and can continue to detect missing, reworded, and additional safety statements. The following configuration helps to refine which safety statements the check treats as relevant to a given document, which can substantially reduce noise on consolidated ISI documents.
Configuring Indication and Patient Population Matching
To let the ISI check narrow safety statements by indication and patient population, configure an agent context on the ISI Extraction action that lists the document fields carrying those signals. The check scans the values of those fields to determine the material’s indication and population scope. This context must be labeled ISI Contextual Matching Fields.
The context lists each field as a label-and-value pair, such as the following starting configuration:
    {
        "Matching Fields": {
            "${name__v;label}": "${name__v}",
            "${title__v;label}": "${title__v}",
            "${audience__v;label}": "${audience__v}",
            "${material_intent__v;label}": "${material_intent__v}",
            "${indication__v;label}": "${indication__v}"
        }
    }
To include a custom field that carries indication or population information, add a corresponding pair, for example:
"${therapeutic_area__c;label}": "${therapeutic_area__c}"
Because this is an agent context, you configure it in the Vault AI agent configuration. We recommend that customers work with their Veeva Services representative to identify the appropriate fields for their data model.
If you do not configure this context, the check does not narrow statements by indication or patient population, and continues to run on the remaining dimensions.
Configuring Form (Length Variant) Matching
Many organizations maintain short, medium, and full-length versions of their safety information and use the appropriate length for different kinds of promotional materials, for example, a short version on a web banner and a full version on a detail aid. To let the check match a material to the correct length variant, configure an agent context on the ISI Extraction action, labeled ISI Form Mapping.
This context has two parts: a driver that names the single document field indicating which length a material needs, and a mapping that translates each value of that field into short, medium, or full. For most organizations, the driver is the document type. The following example maps document types to length variants:
    {
        "Form Driver": {
            "${type__v;label}": "${type__v}"
        },
        "Form Mapping": {
            "web_banner": "short",
            "email": "short",
            "sales_aid": "medium",
            "detail_aid": "full",
            "leave_behind": "full"
        }
    }
If a different field determines the length variant in your Vault, name that field in Form Driver and list its values in Form Mapping instead:
    {
        "Form Driver": {
            "${material_intent__c;label}": "${material_intent__c}"
        },
        "Form Mapping": {
            "awareness": "short",
            "educational": "medium",
            "clinical_detail": "full"
        }
    }
When you configure this context, the two values must match exactly, or length matching does not take effect:
- The values on the left side of Form Mapping must match the values the driver field actually stores. A picklist value may include a namespace suffix (for example,
web_banner__crather thanweb_banner). Use the exact stored value. - The length values on the right side must be
short,medium, orfull, and must match the length markers used in the ISI source document.
We recommend that customers work with their Veeva Services representative to create this agent context. If you do not configure this context, the check does not narrow statements by length variant, and considers every length variant in the ISI source relevant.
Configuring the ISI Source Document Structure
Contextual matching depends on the ISI source document expressing its own scope, essentially, which statements belong to which indication, patient population, and length variant. The check reads this from the document’s section structure and from short, medium, and full-length markers within it. We recommend that customers work with their Veeva Services representative for current guidance on structuring consolidated ISI source documents.
Creating & Matching Website Records
While performing the Privacy Policy Link and Unsubscribe Link quality checks, Quick Check Agent first determines whether those links should be present in this kind of document. If so, Quick Check Agent extracts any website links in the document, and determines if they match any Website object records based on the Country and Language of the object record and on the document. Quick Check Agent interprets blank Country and Language fields to mean the Website record applies to all countries or languages.
To create Website records:
- Navigate to Business Admin > Objects > Website.
- Click Create.
- Enter the Website URL.
- In the Distribution Channel Type drop-down, select the corresponding type: Privacy Notice, Unsubscribe, or QR Code.
- Optional: Select a Language.
- Optional: Select a Country.
- Click Save.
Configuring the Key Fields Section
The Reviewer Summary action can compare specific field values to the document’s content, to see if they look correct. To choose the specific fields for comparison, configure the Document Metadata Fields context item, and ensure it is associated with the Reviewer Summary action.
Related Permissions
You can complete all steps in this article with the standard System Administrator or Vault Owner security profile. If your Vault uses custom security profiles, your profile must grant the following permissions:
| Type | Permission Label | Controls |
|---|---|---|
| Security Profile | Object: Website: Read, Create, Edit, Delete | Ability to see, create, edit, and delete Website object records |
| Security Profile | Admin: Configuration: Document Lifecycles: Edit | Ability to edit existing items within Configuration > Document Lifecycles, including lifecycles, lifecycle states, and workflows |
| Security Profile | Admin: Configuration: Document Types: Edit | Ability to edit existing document types, subtypes, and classifications in the Configuration > Document Types page |